So a quick DIY or How-To on enlarging images.
+ First, upload your image.
+ Then go to the "Edit Html" tab at the top of where you are composing your blog (above and to the right of where all of your text formatting options are). Don't be scared of all the crazy Html code (it still overwhelms me to look at it ;)).
+ Each picture will have a code of something like this (click code to enlarge and see it better):
+ What you are looking for is what is in bold red below:
+ I always increase my picture sizes by 50%, but you can change them to whatever size works best for you and your blog. The key is that the width and height have to be proportionate. I have to get out my handy dandy calculator on my desktop to make sure I am increasing them correctly.
+ So, if I want to increase the width of 320px by 50%, I would type in 320/2 + 320, which equals 480. And the height of 400px is 400/2 + 400 = 600.
+ Then you must also increase the /s400/ number at the bottom (in red above). I always set this to 800.
Sooo, your new html code will look like this:
*Remember, all you change are the numbers. Do NOT delete any of the other characters or it will mess up the entire code. Believe me, I know ;)
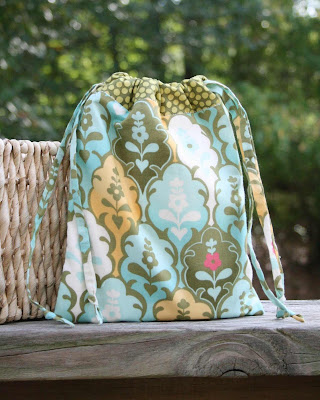
So below is a picture at regular size after uploading it - no increase in size has been made. While it still works fine, I think it's nice to have a larger image for people to view.
 Below is the image increased in size by 50%. So nice! :)


Tidak ada komentar:
Posting Komentar