I have a bunch of Valentine-y paper in my stash and decided to create a 3-D heart card for Valentine's Day. I bought a Martha Stewart heart shaped paper punch since I knew I could use it with future projects, but you could easily cut out a bunch of hearts, either free-hand or by tracing and cutting. I'm super pleased with how it turned out- it's cute and (fairly) simple to make - perfect for Valentine's Day, or for any time of the year when you want to tell someone you love and appreciate them.

 Supplies:
- Valentine-y paper (or use magazine scraps that are red or pertinent to a color scheme you would like to use) - I used cardstock in this tutorial
- Blank white cardstock card (and envelope to put it in!) - I used a 4.25"x6" card
- Blank piece of cardstock to line the inside of the card and cover up the sewing - I used a red 4.25"x6" piece to line the card (this gave it a .25" white border on the inside- see picture below)
- Permanent adhesive
- Heart punch
- Scissors
- Sewing machine
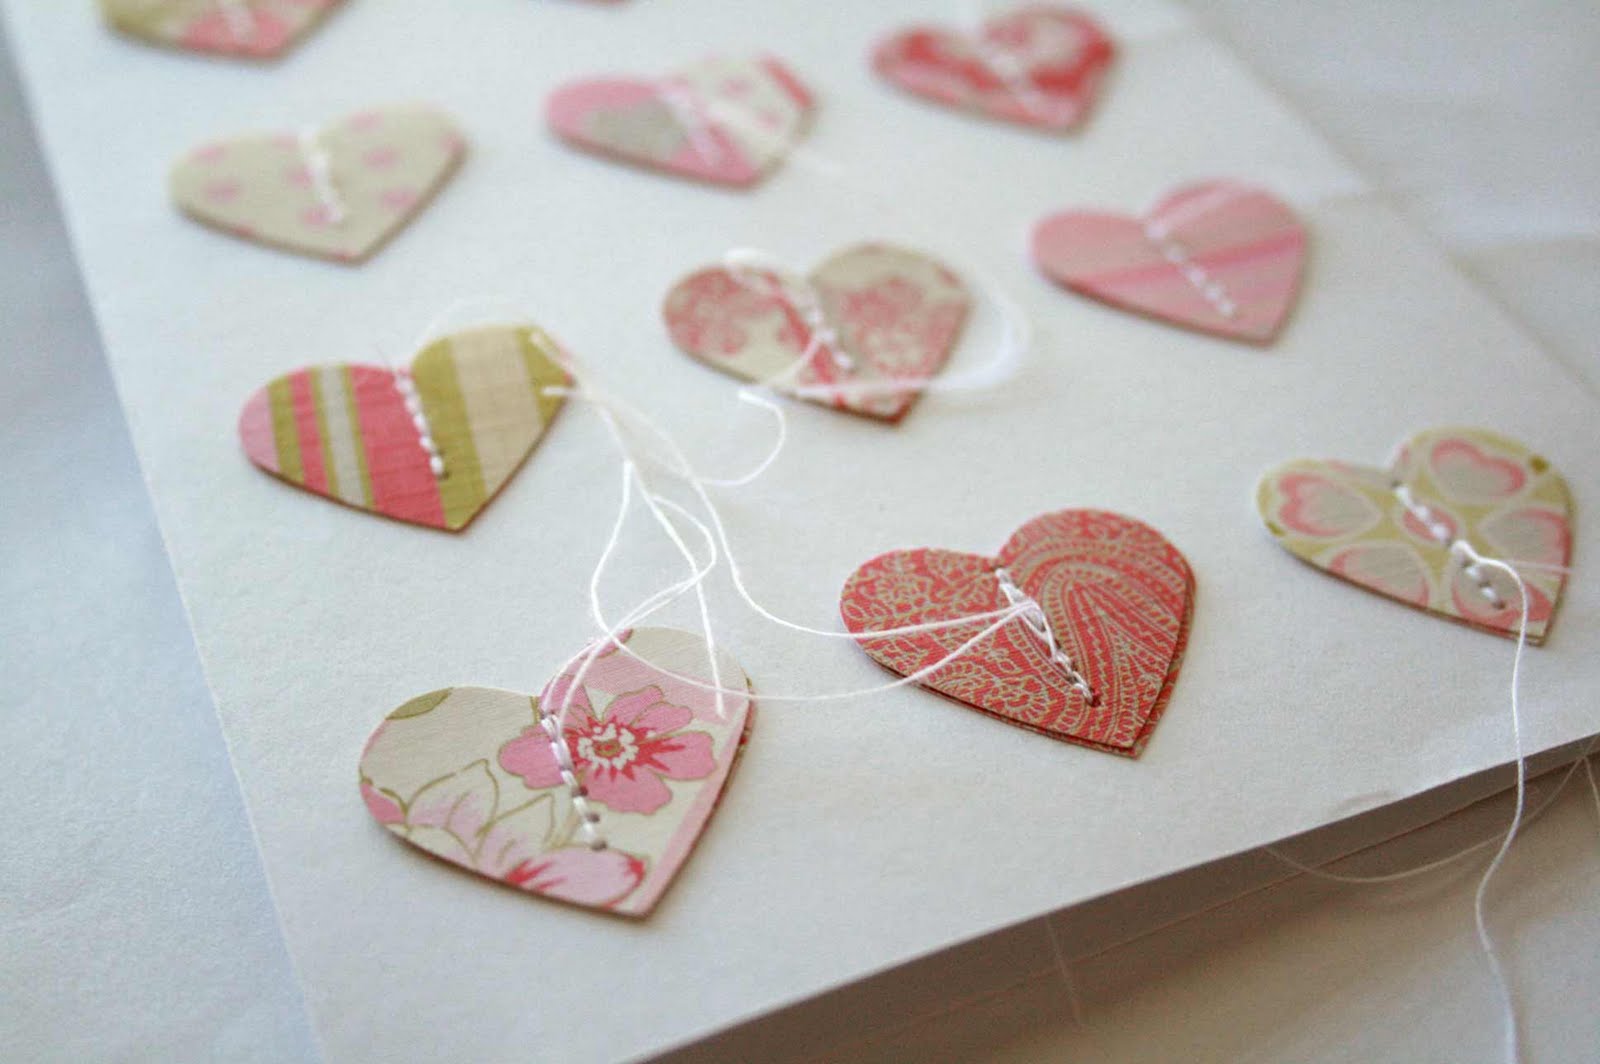
Begin by punching (or cutting) out hearts from your paper- punch two of each design- I had 12 different patterns (my paper was double sided), and punched 2 of each. (*If you are cutting out hearts, you will need to decide how big they need to be depending on the size of your blank cardstock card.)
Arrange the hearts on the front of your card to your liking (I used a simple grid). These will be the "background" hearts and will be directly adhered onto the card. Adhere the "background" hearts with the permanent adhesive. Once you finish this step, you could even leave the card as-is like this and call it finished! :) Next, take the matching heart, lay it on top of the already adhered "background" heart and sew a quick stitch and then a reverse stitch. Repeat with each heart.Once that is complete, trim off the excess thread.

Now, take the liner sheet of cardstock and adhere it to the inside of the card. This will help keep the stitches in place and keep from unraveling, as well as cover up the stitching. I also rolled some extra adhesive over top of the stitches.
 Now you have a lovely lined inside of your card with a nice .25" white border. Back to the front of the card-- gently fold up the top heart you just sewed down to create the 3-D effect.
  Voilà! A cute 3-D Valentine card. Perfect to give to your significant other, or perfect to send to a loved one or family member! Just write a message, seal it in the envelope and you're done :)


 Joshua Andrew was born Friday, February 11 :) He is healthy, happy and absolutely adorable. We are all doing very well and I've been enjoying laying low with my Jimmy and Joshua. Jimmy loves his sweet baby brother and is enjoying helping and loving on him :)